

HubSpot's Documents feature allows you to embed attachments directly within the email content. You can build a personal library for yourself, or have a team collection of documents to easily share with your contacts - with a simple click of a button! You can share PPT presentations, Case Studies, or any document that is best to link out to instead of placing directly into the email as an image. Plus, you can see who opens, how far they got into the document...and so much more!
Add a document
When adding a new document, please make sure this can be viewed publicly and does not contain any sensitive information. Also, please do a throughout check of the document to ensure everything is spelled, formatted and presented correctly. All uploaded documents are stored by HubSpot and shared with all other users within our HubSpot account.
As with all features in HubSpot, please create a folder with your name or team vertical to store all the files you uploaded. As more and more documents are added, this will help you to easily locate the document quickly.
- In your navigation, select Documents from the Sales drop down menu
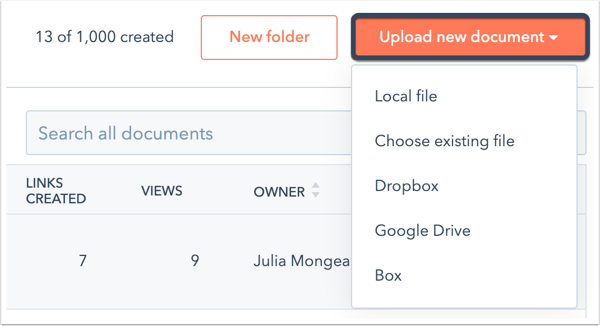
- Click on the orange button to Upload new document
- Chose where you'll be importing from (local file, dropbox, etc.)
NOTE: once you upload your document, you may need to move it into your folder. Click on the document to see the summary page. If you do not want your contacts to have to enter their email address in order to view the document, please turn off the toggle switch that says Enable privacy and consent (GDPR).
Clicking on any of the documents will show you a summary of who's viewed the document, when they last viewed, how many times they've viewed - and when you have multiple pages it'll tell you how many pages they viewed, how long they viewed each page so you can see where they stopped reading!

Add document(s) to Emails
Adding documents to your emails is as easy as adding images and personalization.
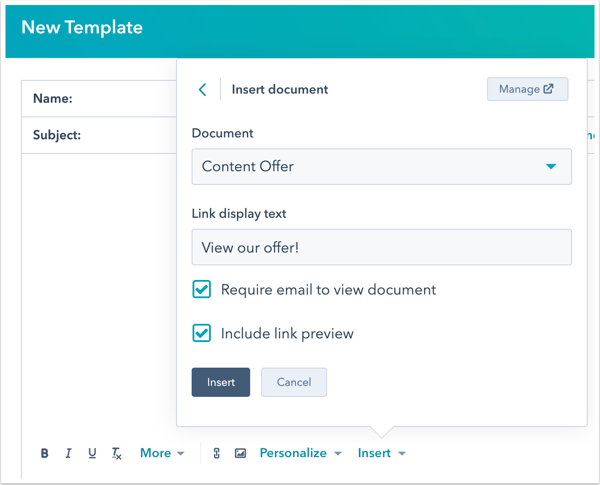
- At the bottom of the email template, click on Insert and select Document from the drop down menu
- Select the document you wish to embed
- In the Link Display text field, enter the text to display for the document link (example: Take a Look)
- Deselect Require email to view document if you do not want the contact to enter their email in order to view the document
- Keep Include link preview selected if you want to display a preview of the document in the body of your email
- When ready, click Insert
NOTE: if you need to update an existing document, simply click on the existing document in HubSpot and select Re-upload in the upper right corner, then select the source of the new file. This will seamlessly update the document for everyone currently using this in their emails.